Welcome to the ultimate list for kids’ crafts. From toddlers to senior citizens, I’ve got you covered. Who has time to search Google for hours anyway? Here is my never ending list of crafts that are not only fun and engaging but budget-friendly and conveniently located as well. A lot of the crafts can be completed with common household items, while others will require some preparations.
For Toddlers- Ages 2-4
At this age, crafts should emphasize fine motor skills (pinching, tearing, gluing) and sensory exploration.
Fine Motor Skills
1. Tissue Paper Rainbows:
Draw a simple rainbow outline. Give the child small squares of colored tissue paper. Have them crumple the paper into balls and glue them into the correct arcs.
2. Paper Plate Sun:
Paint a paper plate yellow. Once dry, have the child glue strips of yellow and orange construction paper (the “rays”) around the edges.
3. Sticky Note Mosaic:
Draw a large shape (like a heart or star) on a piece of cardboard. Give the child various colored sticky notes and let them fill the shape.
4. Tear-Art Caterpillar:
Instead of using scissors, have the child tear green construction paper into circles. Glue them in a line on a page and add a red “head” circle.

5. Paper Chain Worms:
Cut strips of colored paper. Help the child loop them through one another and use a glue stick to secure them to make a long, wiggly worm.
6. Confetti Art:
Use a hole punch to make lots of paper “dots.” Spread glue in a pattern on paper and let the child “sprinkle” the confetti over the glue.
Nature and Garden
7. Leaf Rubbings:
Place a leaf under a thin sheet of paper. Show the child how to rub a crayon sideways over the paper to make the leaf’s shape and veins appear.
8. Nature Crowns:
Cut a strip of brown paper to fit the child’s head. Apply a strip of double-sided tape. Go on a walk and let them stick leaves, petals, and small twigs to their “crown.”
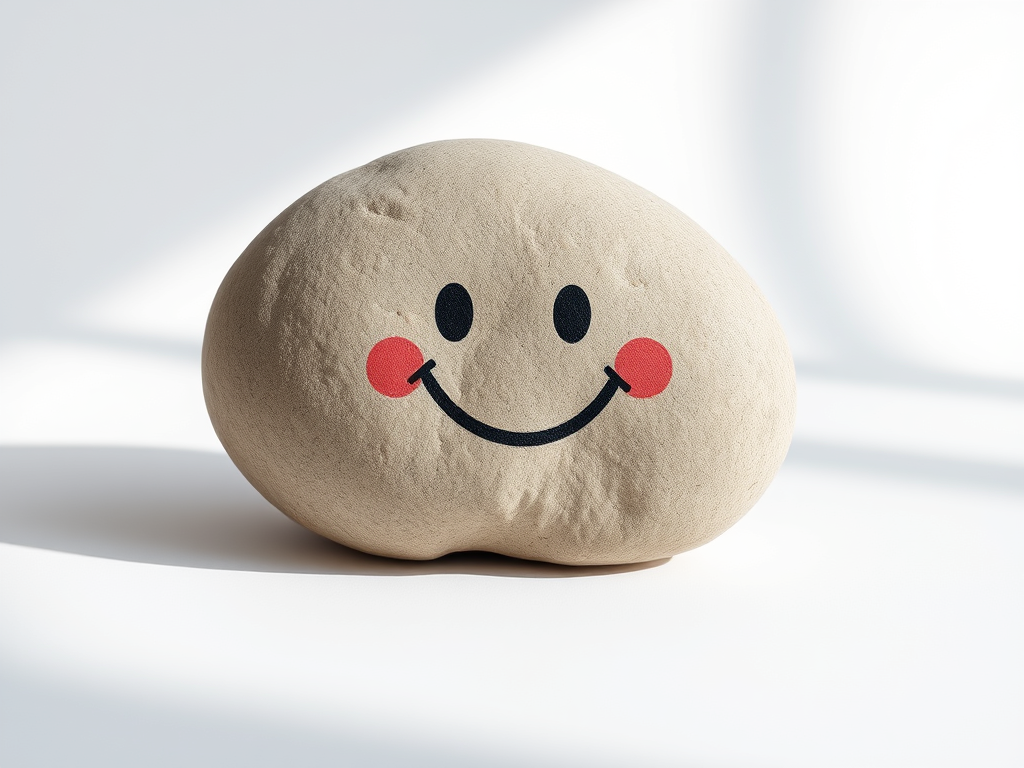
9. Pet Rocks:
Find a smooth stone. Let the child paint it. Once dry, glue on “googly eyes” and use markers to draw a mouth.
10. Stick Drummers:
Collect two sturdy sticks. Let the child wrap them in colorful yarn or tape to create their own personalized musical drumsticks.
11. Flower Pressing:
Place flowers between two sheets of wax paper inside a heavy book. Wait 3 days, then glue the flattened flowers onto a card.
12. Potato Stamps:
An adult cuts a potato in half and carves a simple shape (triangle/star). The child dips the potato in paint and presses it onto paper.
13. Fingerprint Tree:
Draw a brown tree trunk and branches. Let the child dip their fingers in green, red, or yellow paint to make the “leaves.”
14. Bubble Wrap Printing:
Paint a piece of bubble wrap. Press a sheet of paper onto the wet paint to create a cool “honeycomb” texture.
Recycle and Reuse
15. Fork Tulips:
Dip the back of a plastic fork into paint and press it onto paper to create the petals of a tulip. Draw a green stem underneath.
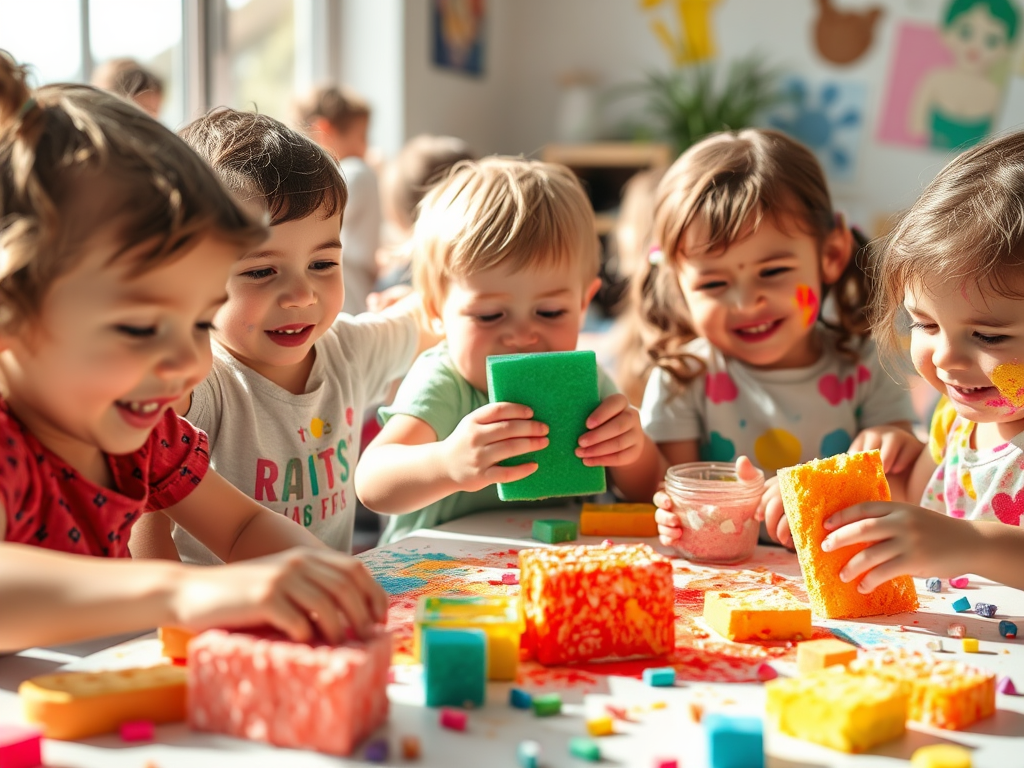
16. Sponge Painting:
Cut sponges into shapes. Let the child dip them in paint and “stamp” their own wrapping paper on large butcher paper.
17. Cotton Ball Painting:
Clip a cotton ball into a clothespin (to act as a handle). Dip it in paint and “dab” colors onto a canvas.
18. Toilet Paper Roll Binoculars:
Tape two cardboard rolls together. Let the child decorate with stickers. Punch holes in the sides to add a string “neck strap.”
19. Egg Carton Treasure Box:
Paint an empty egg carton. Use it to store “treasures” like beads, shells, or cool buttons.
20. Paper Bag Puppets:
Use a small brown lunch bag. Glue yarn for hair and paper shapes for eyes and a tongue on the folded bottom flap.
21. Pasta Necklaces:
Use large tube pasta (penne or rigatoni). Have the child paint the pasta, then string it onto a piece of yarn once dry.
22. Paper Plate Masks:
Cut eye holes in a paper plate. Let the child decorate it with feathers, glitter, or markers. Tape a popsicle stick to the bottom as a handle.
23. Cardboard Box Guitar:
Stretch 3–4 large rubber bands over an open tissue box. Let the child pluck the “strings” to make music.
24. Coffee Filter Butterflies:
Color a coffee filter with markers. Spray with a little water so the colors bleed. Once dry, pinch the middle with a pipe cleaner to make wings.
25. Handprint Sunflowers:
Trace the child’s hand on yellow paper 5 times. Glue the “hands” in a circle around a brown center to create a sunflower.
26. Paper Plate Fish:
Cut a small triangle out of a paper plate (the mouth). Glue that triangle to the back of the plate to be the tail. Decorate with “scales” (paper circles).
27. Do-a-Dot Art:
Give the child “Dot Markers” (dabbers) and let them fill in pre-printed circles on a coloring sheet. Great for hand-eye coordination.
28. Paper Heart Snails:
Cut a large circle for the “shell” and a long rectangle for the “body.” Help the child roll the shell and decorate with glitter or stickers.
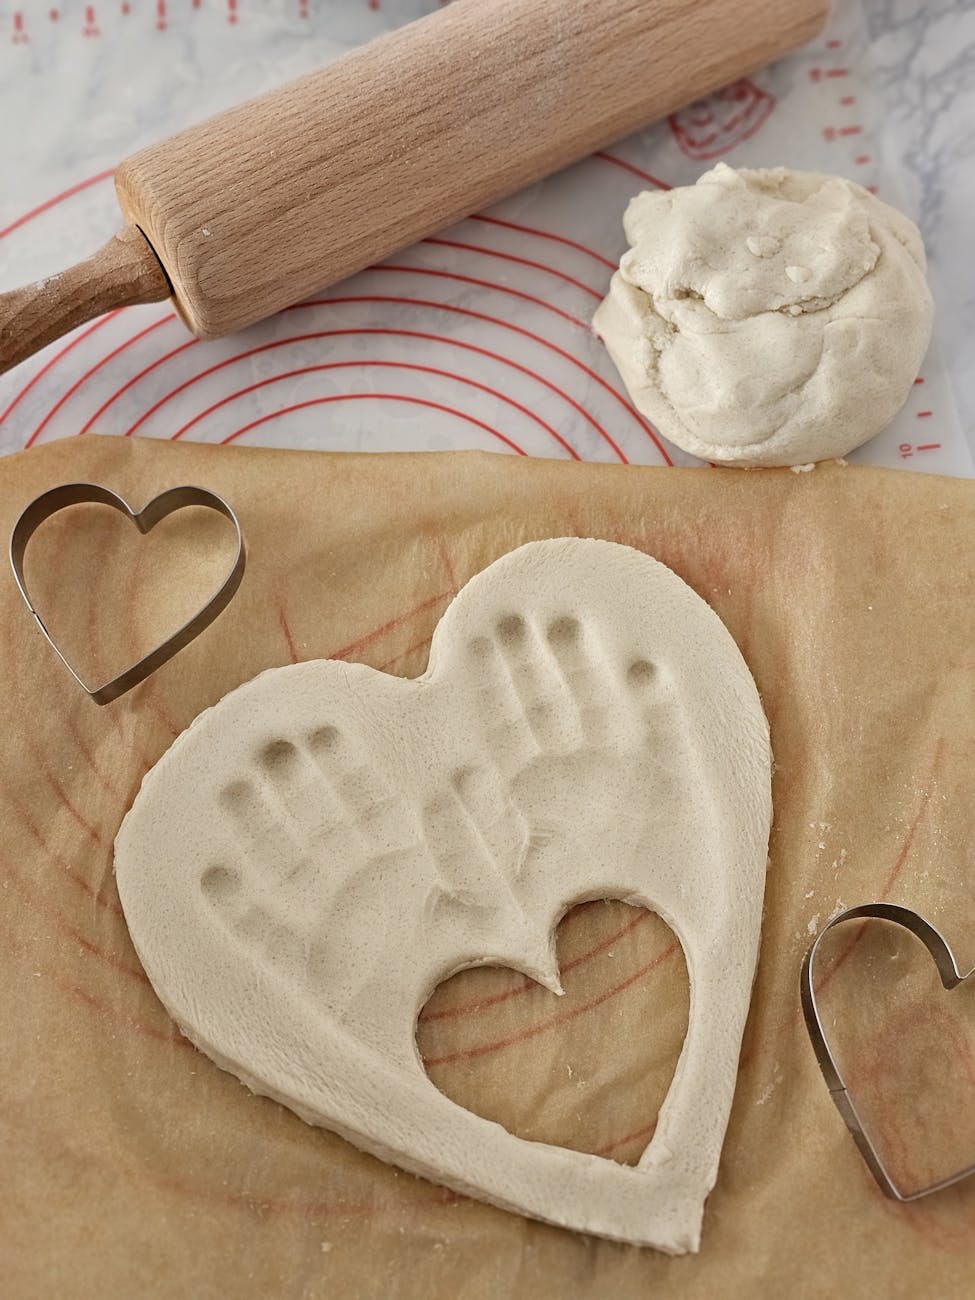
29. Salt Dough Keepsakes:
Mix 1 cup flour, 1/2 cup salt, 1/2 cup water. Knead into a dough. Press the child’s hand into it. Bake at low heat until hard, then paint.
30. Feather Fans:
Tape 5–6 large craft feathers to a popsicle stick in a fan shape. Let the child wave it to feel the “breeze.”
31. Ziploc Finger Painting:
Squeeze two colors of paint into a gallon-sized freezer bag and seal it tightly. Tape the bag to a table or window and let the child “draw” with their fingers, watching the colors mix without the mess.
32. Shaving Cream Marble Art:
Spread shaving cream on a tray and drop food coloring on top. Swirl with a stick, then press a piece of paper onto the foam. Scrape the foam off to reveal a marbled design.
33. Aluminum Foil Sculptures:
Give the child sheets of foil. It’s easy for small hands to crunch, twist, and mold into “snakes,” “balls,” or “hats,” providing great tactile feedback.
34. Dry Pasta Art:
Provide various shapes of dry pasta (bowties, wheels, spirals). Have the child glue them onto cardstock to create a 3D textured masterpiece.
35. Sandpaper & Yarn:
Give the child a piece of coarse sandpaper and some scraps of yarn. The yarn naturally “sticks” to the sandpaper, allowing them to create and change designs without glue.
36. Mud Painting:
Mix dirt and a little water in a cup. Give the child an old paintbrush and let them paint “invisible” designs on the sidewalk or paper that turn brown as they dry.
37. Nature Suncatchers:
Cut the center out of a paper plate and cover the hole with clear contact paper (sticky side up). Have the child stick flat leaves and flower petals onto it.
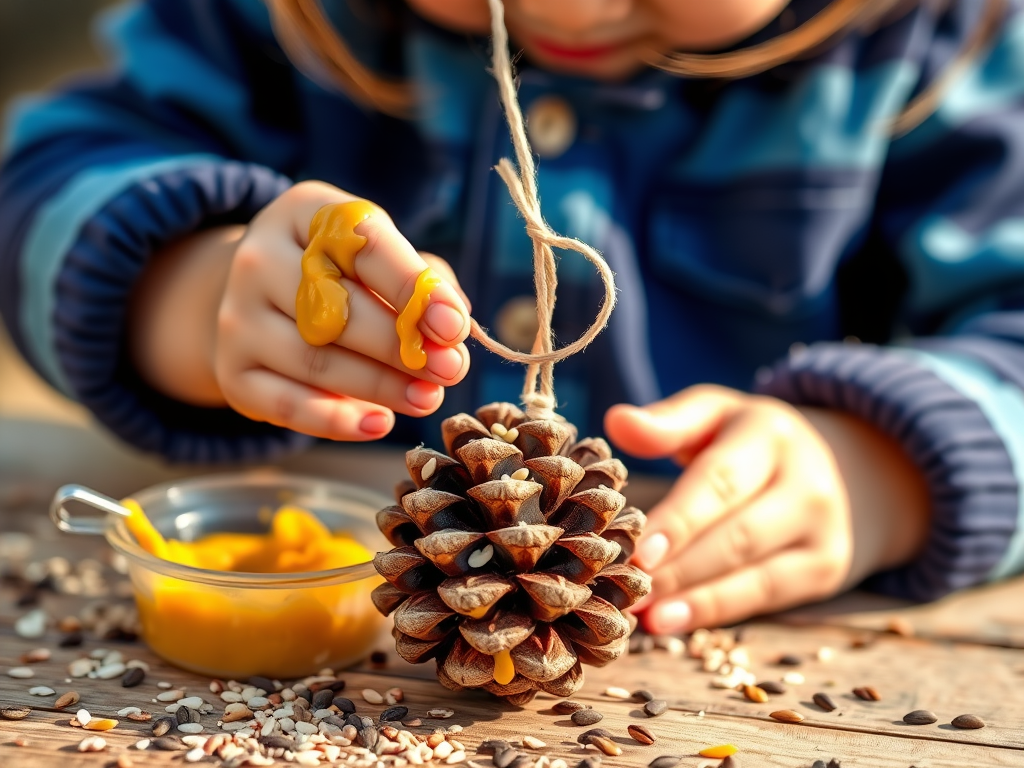
38. Bird Feeder Pinecones:
Spread sunbutter or honey on a pinecone and let the child roll it in birdseed. Tie a string to it and hang it outside.
39. Rock Shakers:
Find small pebbles outside. Place them inside an empty plastic water bottle and let the child decorate the outside with stickers to make a “nature rattle.”
40. Leaf People:
Glue a large leaf to a piece of paper. Let the child glue googly eyes on the leaf and draw stick arms and legs coming off the sides.
41. Apple Star Prints:
Cut an apple horizontally (across the middle) to reveal the “star” inside. Dip in paint and stamp onto paper.
42. Cardboard Tube Spiders:
Cut 8 slits halfway up a toilet paper roll and bend them outward like legs. Let the child dip the “legs” in paint and stamp “spiders” on paper.
43. Lego Brick Painting:
Use old Lego bricks as stamps. The different sizes and the “dots” on top create amazing geometric patterns when dipped in paint.
44. Bubble Blowing Art:
Mix dish soap, water, and paint in a cup. Blow bubbles with a straw until they overflow, then touch a piece of paper to the bubbles to see the “rings.”
45. Texture Rubbings:
Place flat items like coins, combs, or lace under paper. Have the child use a chunky crayon to reveal the “hidden” textures.
46. Colander Pipe Cleaner Sculpture:
Give the child a kitchen colander and a pack of pipe cleaners. Have them poke the pipe cleaners through the holes to create a colorful “bush.”
47. Paper Plate Tambourin:
Fold a paper plate in half, fill it with dried beans, and staple the edges. Let the child shake it to the beat of their favorite song.
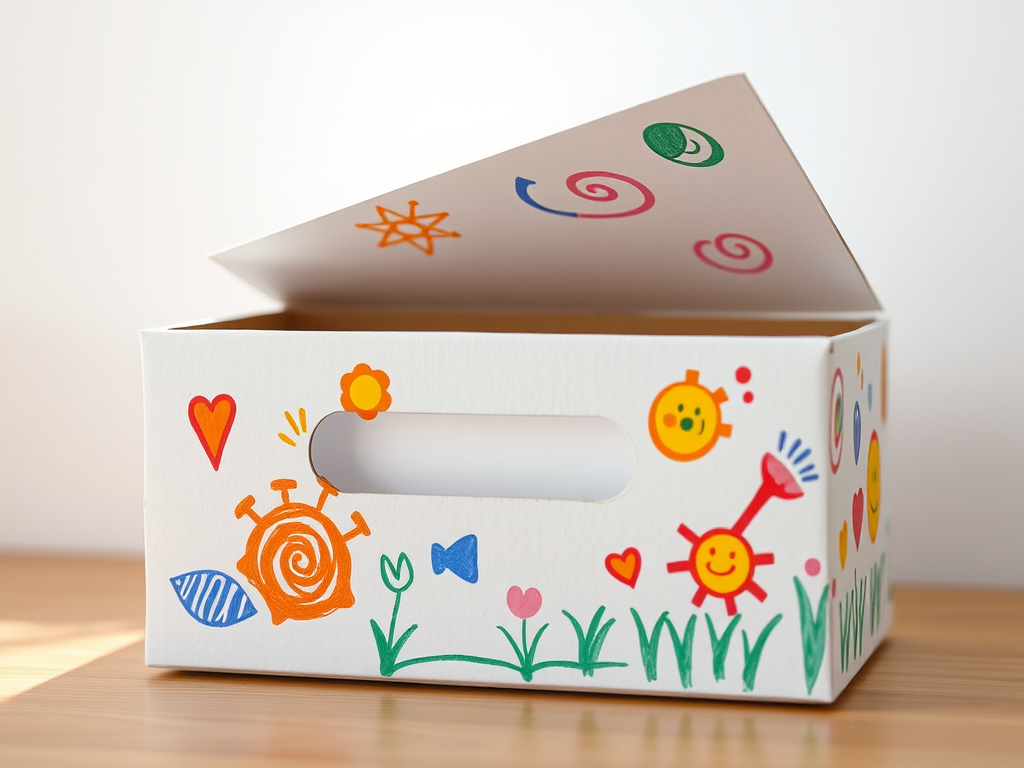
48. Shoebox Mailbox:
Cut a slit in the top of a shoebox. Let the child decorate it, then give them old envelopes or “letters” they’ve drawn to “mail” to the family.
49. DIY Magnifying Glass:
Cut a circle out of a paper plate, leaving a “handle.” Tape a piece of clear plastic wrap over the hole. It doesn’t magnify, but it encourages them to “inspect” the world.
50. Yarn Trapped Treasures:
Tape small toys to a piece of cardboard. Give the child lengths of yarn and help them “wrap” the toys to “save” them or hide them.
51. Paper Plate Wreath:
Cut the center out of a paper plate. Have the child glue green paper “handprints” or scrap paper around the ring.
52. Paper Cup Bells:
Decorate a paper cup, poke a hole in the bottom, and thread a string with a large bead or bell through it.
53. Family Photo Frame:
Glue 4 popsicle sticks into a square. Let the child decorate with buttons or glitter, then tape a photo to the back.

54. Window Clings:
Paint thick designs with school glue and food coloring onto a plastic sheet. Once dry, they peel off and “stick” to windows.
55. Magic Wand:
Tape a large star made of cardboard to a stick or straw. Have the child glue “ribbons” (strips of scrap paper) to the star.
Skill-Building Fun
56. Button Sorting Tray:
Use an empty muffin tin. Give the child a bowl of large, colorful buttons and have them sort them by color into the different cups.
57. Sticker Line-Up:
Draw a curvy line or a zig-zag on a piece of paper. Have the child place stickers all along the line to practice “following the path.”
58. Paper Plate Steering Wheel:
Decorate a paper plate with a “horn” in the middle. Perfect for active play while they “drive” around the house.
59. Felt Board Stories:
Cut simple shapes (sun, house, tree) out of colorful felt. They will naturally stick to a larger piece of felt or a flannel blanket for endless story changes.
60. WATER PAINTING:


For Children Ages 5–9
Children are developing better scissor skills and can handle multi-step instructions. These crafts move beyond simple “sticking” and move into creating functional items, toys, and gifts.
1. Tie-Dye Coffee Filter Art:
Use washable markers to draw patterns on coffee filters, then spray with water. Once dry, bunch them up to make flowers or butterflies for headbands.
2. Friendship Bracelets (Cardboard Loom):
Cut a circle out of cardboard with 8 notches. Use 7 strands of yarn to weave a “round” friendship bracelet.
3. T-Shirt Tote Bags:
Take an old T-shirt, cut off the sleeves and neckline, and tie the bottom hem into fringe knots to create a “no-sew” bag.
4. Duct Tape Wallets:
Use patterned duct tape to create “fabric” sheets, then fold and tape them into a wallet with card slots.
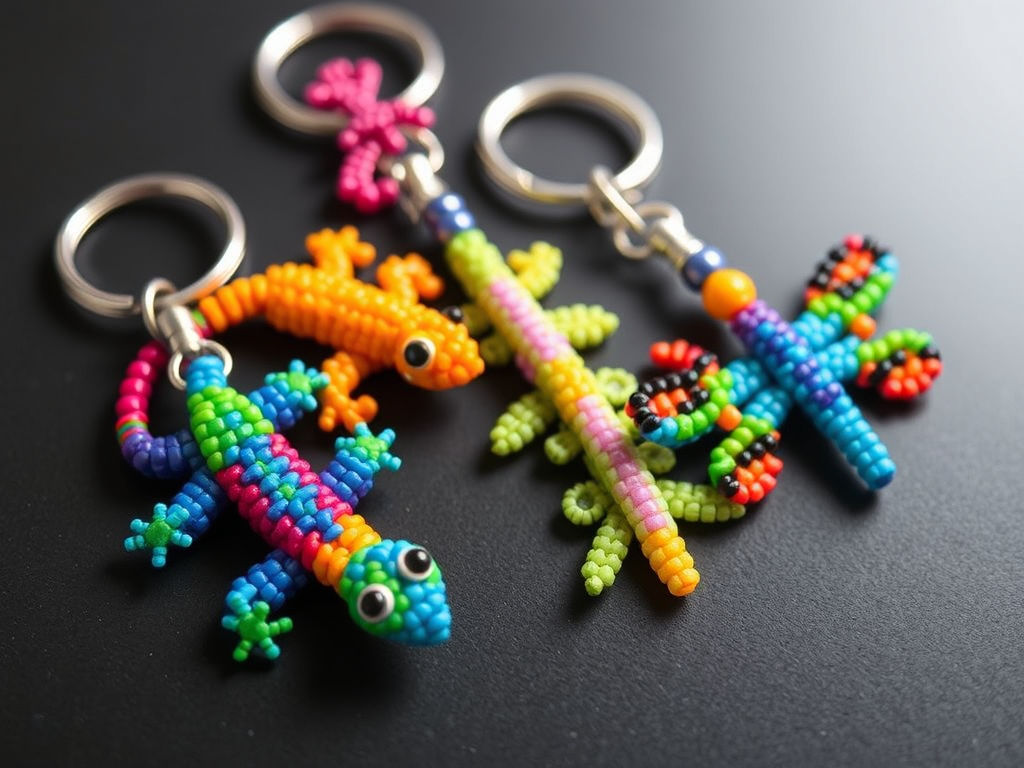
5. Beaded Keychains (Lizards):
Use pony beads and plastic “lanyard” string to weave a lizard or dragonfly shape using a basic box stitch.
6. DIY Superhero Capes:
Use an old pillowcase or large fabric scrap. Decorate with felt symbols (stars, lightning bolts) using fabric glue.
7. Room Decor & 3D Art:
Yarn-Wrapped Letters
Cut the child’s initial out of thick cardboard. Let them wrap it tightly in colorful yarn until the cardboard is hidden.
8. Paper Mache Bowls:
Use a balloon as a base. Layer strips of newspaper dipped in a flour/water paste. Once dry, pop the balloon and paint the inside.
9. Dream Catchers:
Use a paper plate with the center cut out. Punch holes around the inner rim and “weave” a web with yarn, adding beads and feathers at the bottom.
10. Terrarium Mason Jars:
Layer pebbles, charcoal, and moss inside a jar. Add small plastic figurines (dinosaurs or fairies) to create a miniature world.
11. Popsicle Stick Birdhouse:
Glue craft sticks together to form a floor, four walls, and a slanted roof. Paint it bright colors and hang it outside.
12. Sun Catchers with “Glass”
Place clear contact paper on a table. Let kids arrange colorful tissue paper scraps or dried flower petals on it, then seal with a second sheet of contact paper.
13. Bottle Cap Spinners:
Poke two holes in a large juice cap. Thread a string through. Pulling and releasing the string makes the cap spin at high speeds.
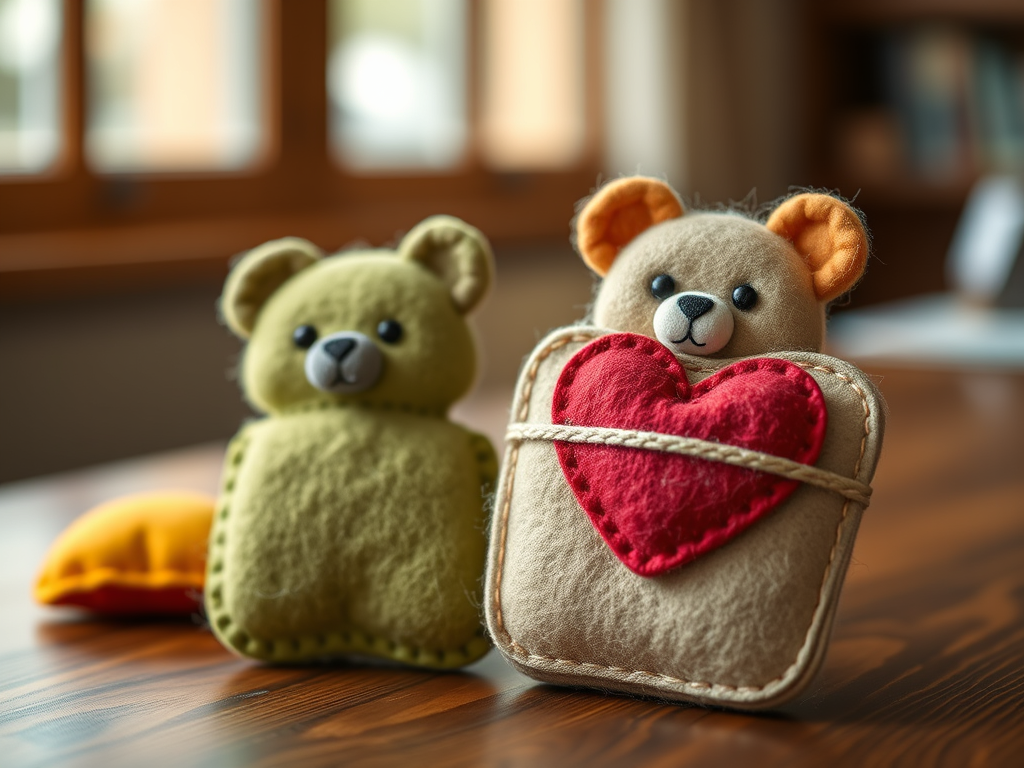
14. Felt Pocket Pals:
Cut two small felt shapes (like a bear or heart). Use a simple whip stitch or fabric glue to join the edges, leaving a small gap for stuffing.
15. Clothespin Aeroplanes:
Paint a wooden clothespin. Glue a popsicle stick across the top (wings) and a half-stick at the back (tail).
16. Balloon-Powered Cars:
Use a juice box for the body, bottle caps for wheels, and a balloon taped to a straw to propel the car forward.
17. Origami Jumping Frogs:
Use square paper and specific folds to create a frog that actually “jumps” when you press its back.
18. DIY Kaleidoscopes:
Use a cardboard tube, silver reflective card (or aluminum foil), and translucent beads at the end to create shifting patterns.
Creative Stationery
19. Handmade Paper:
Blend scrap paper with water to make pulp. Press it flat through a screen or mesh strainer and let it dry to make “new” lumpy paper.
20. Pressed Flower Greeting Cards:
Use flowers from a nature walk that have been flattened in a book. Glue them onto cardstock in the shape of a bouquet.
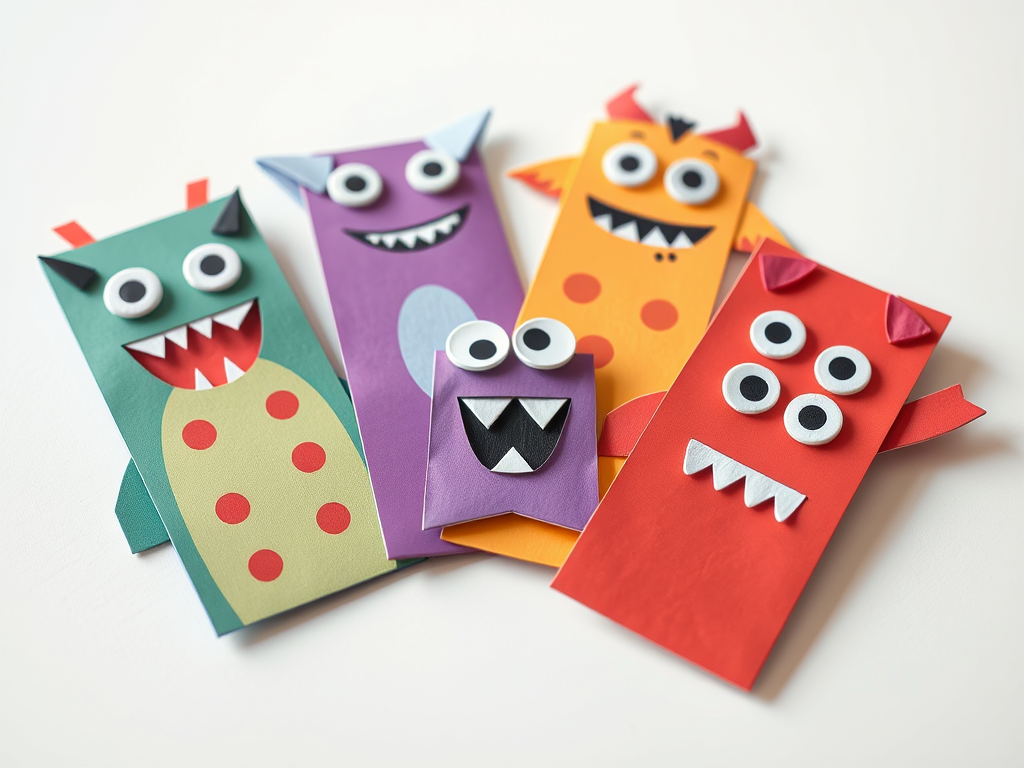
21. Personalized Bookmarks:
Use “corner” origami folds to create monsters or animals that “bite” the corner of the page to save your spot.
22. Eraser Stamps:
Use a dull pencil to carve simple designs into a large pink eraser, then use it with an ink pad.
23. Woven Paper Mats:
Cut slits into a piece of construction paper. Use strips of a different color to weave “over and under” to create a checkerboard pattern.
Nature & Garden
24. Grass Head People:
Fill a nylon stocking with grass seed and sawdust. Decorate with googly eyes. Put it in a cup of water and watch “hair” grow!
25. Bird Feeders (Pinecone):
Slather a pinecone in peanut butter (or sunflower butter) and roll it in birdseed. Tie with a string.
26. Rock Story Stones:
Paint different icons on smooth stones (a castle, a dog, a sun). Kids can pull stones from a bag to help tell a story.
27. Wind Chimes:
Paint old tin cans or metal spoons. Hang them from a stick using fishing line so they clink together in the breeze.
28. Leaf Lanterns:
Use a clean glass jar. Use Mod Podge to glue colorful autumn leaves to the outside. Place a battery-operated tea light inside.
29. Twig Picture Frames:
Glue four sturdy twigs into a square. Use twine to wrap the corners and decorate with small acorns or dried berries.
30. Shell Jewelry Dishes:
Paint the inside of a large seashell (like a clam or scallop) with gold or silver paint to hold rings and treasures.
31. Bottle Cap Pins:
Glue small safety pins to the back of decorated bottle caps. Use markers or tiny photos to create custom “flair” for backpacks.
32. No-Sew Fleece Scarves:
Cut a long rectangle of fleece. Have the child cut fringe into both ends and tie small knots in each fringe piece for a finished look.
33. Cardboard Tube Watches:
Cut a slit down the length of a toilet paper roll so it can “clip” onto a wrist. Decorate the “face” of the watch with a paper circle and drawn-on clock hands.
34. Beaded Bubble Wands:
Twist thick gauge wire into a circle with a handle. Have the child string colorful glass or plastic beads onto the handle for a “royal” bubble wand.
35. Button Headbands:
Take a plain plastic headband and help the child use a low-temp glue gun (or strong craft glue) to layer colorful buttons all the way across.
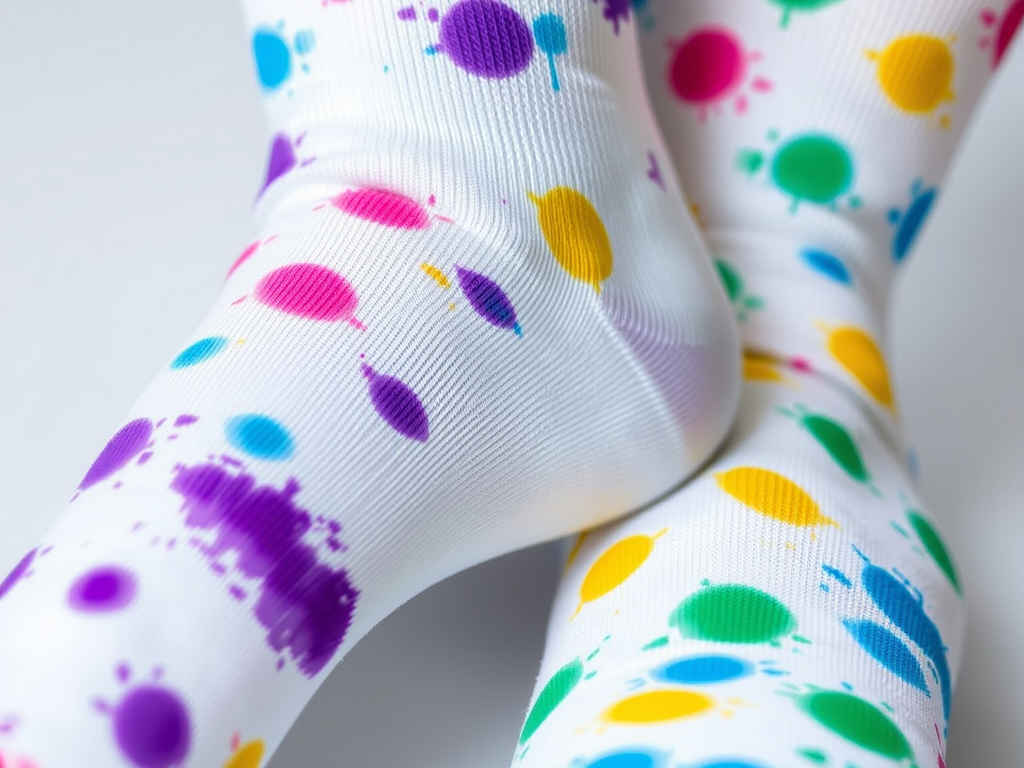
36. Tie-Dye Socks (Marker Method):
Use permanent markers to draw dots on white socks. Drip rubbing alcohol over the ink to make the colors bleed into a tie-dye effect.
Interactive Toys & Gadgets
37. Shoebox Foosball:
Use a shoebox, wooden skewers, and clothespins. Cut holes for the “goals” at each end and use the clothespins as the players to kick a ping-pong ball.
38. Clothespin “Snappy” Puppets:
Glue a paper animal (like a shark or dinosaur) to the side of a clothespin, cutting the animal in half at the mouth. When you pinch the pin, the animal “bites.”
39. Paper Spinner Discs:
Cut a cardboard circle. Poke two holes in the center and thread string through. Draw different colors on each side; when it spins, the colors “blend” into a new one.
40. DIY Catapult (Popsicle Stick):
Use a stack of sticks and rubber bands to create a lever. Glue a bottle cap to the top to launch pom-poms or marshmallows.
41. Paddle Boats:
Cut a boat shape from a plastic butter tub lid. Use a rubber band and a small piece of plastic as the “motor” that you wind up to make it move in the bathtub.
42. Cardboard Marble Maze:
Glue straws or strips of cardboard inside a pizza box lid to create a labyrinth. Challenge friends to get a marble from “Start” to “Finish.”
Room Decor & Organization
43. Tin Can Pencil Holders:
Clean out an empty soup can. Use double-sided tape to wrap it in colorful yarn, fabric, or even “washi” tape to organize a desk.
44. Comic Book Coasters:
Glue squares of old comic book pages onto 4×4 ceramic tiles (or thick cardboard). Coat with Mod Podge to make them waterproof.
45. Mason Jar “Firefly” Lanterns:
Dot the inside of a jar with glow-in-the-dark paint. When the lights go out, the jar looks like it’s filled with glowing bugs.
46. Magazine Collage Initials:
Cut a large letter out of cardboard. Have the child find specific colors in old magazines, tear them out, and glue them on for a “mosaic” look.
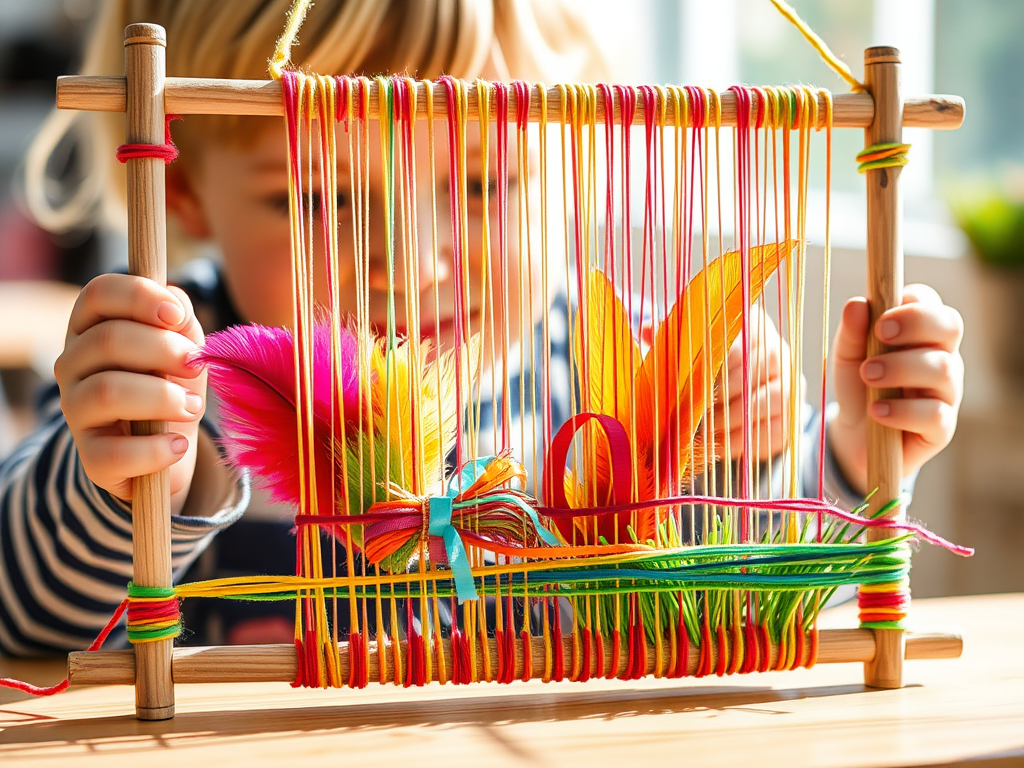
47. Stick-Frame Weaving:
Tie four sticks into a square. Warp yarn across it, then have the child weave “treasures” like feathers, ribbons, and grass through the strings.
48. Personalized Door Hangers:
Cut a “J” shape out of foam or heavy cardstock to fit over a doorknob. Use stickers and glitter glue to mark their territory (e.g., “Sam’s Room”).
Nature-Based Crafts
49. Seed Bombs:
Mix clay, soil, and wildflower seeds. Roll into balls and let dry. Kids can “toss” them into the garden to watch flowers grow later.
50. Pinecone Owls:
Use felt scraps to make large “eyes” and a beak. Glue them to a pinecone and add cotton ball “tufts” for feathers.
51. Stick People Family:
Find “Y” shaped sticks. Use scrap fabric and yarn to “dress” the sticks into a family of characters for imaginary play.
52. Sun-Print Paper Art:
Place keys, leaves, or toys on special “Sun Art” paper. Leave it in the sun, then rinse with water to see the permanent white silhouettes.
53. Acorn Cap Jewels:
Paint the inside of acorn caps with bright nail polish or acrylic paint. They look like tiny bowls of jewels or can be glued together to make ornaments.
Gifts & Stationery
54. Scratch-Off Notes:
Paint over a crayon drawing with a mix of black acrylic paint and a drop of dish soap. Once dry, kids can “scratch” messages into the black surface.
55. Fingerprint Magnets:
Use clear glass “gems” (from the floral aisle). Put a fingerprint on a small piece of paper, glue the gem over it, and add a magnet to the back.

56. DIY Envelopes:
Carefully take apart an old envelope to use as a template. Trace it onto gift wrap or a map, cut it out, and fold it to make custom stationery.
57. Salt Art Jars:
Use chalk to color plain salt by rubbing it on paper. Layer the different colors of salt in a small glass jar to create a “sand art” look.
58. Paper Plate Spirographs:
Use the ridges of a paper plate as a guide to draw geometric patterns, then use a needle and thread to “sew” the pattern into the plate.
59. Potato-Print Tote Bags:
Cut a potato in half and carve a simple shape like a heart or triangle. Use fabric paint to stamp a pattern onto a plain canvas bag
60. Flower Pot Painting:
Give the child a plain terracotta pot. Use “painter’s tape” to create stripes, paint over it, and peel the tape back for a professional look.
For Teens and Young Adults Ages 10–18
Crafts often overlap with maker-culture, interior design, and functional engineering. At this age, the goal is to create high-quality items that don’t look “homemade,” or to master a complex new skill.
Room Decor & Aesthetics

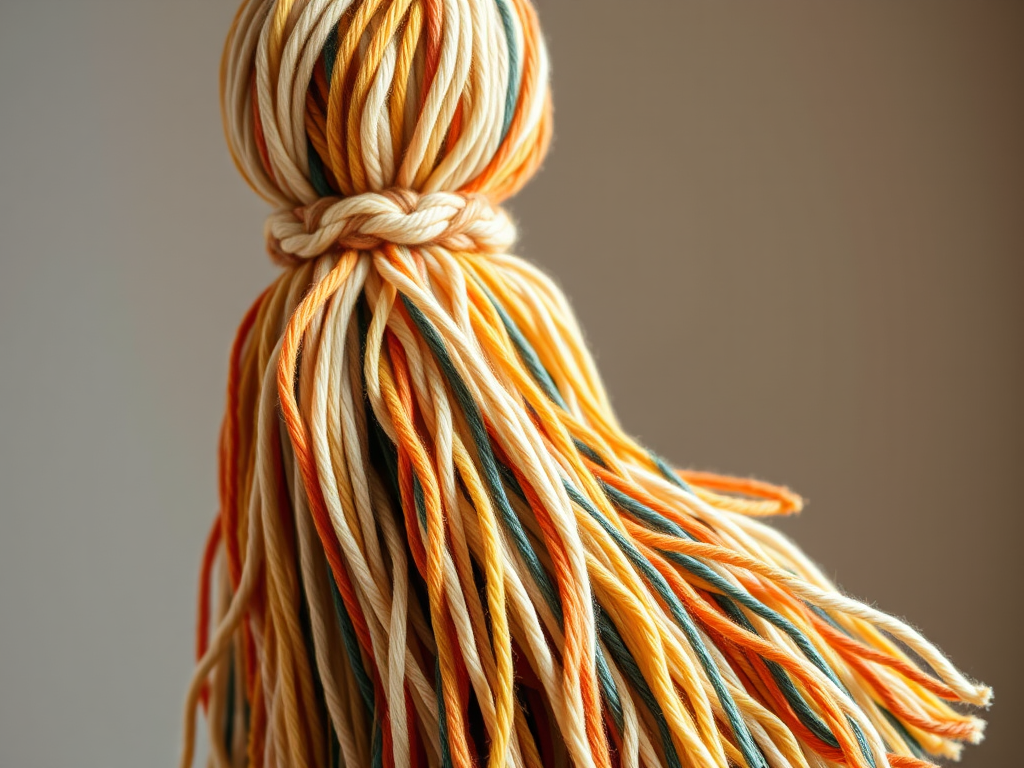
1. Macramé Wall Hanging:
Teach the “square knot” and “lark’s head knot.” Use cotton cord and a wooden dowel to create a boho-style geometric wall piece. Video
2. Photo Transfer to Wood:
Print a photo (must be a laser print). Apply gel medium to a wood block, press the photo face down, let dry, and rub the paper away with water to leave the ink on the wood. Video
3. Etched Glass Bottles:
Use glass etching cream and adhesive stencils to create permanent, frosted designs on mason jars or mirrors. Video
4. String Art Portraits:
Use a wooden board, small finish nails, and embroidery floss. Map out a silhouette with nails and “fill” the space by weaving string back and forth.
5. Arm-Knitted Infinity Scarf:
No needles required! Use “super bulky” yarn and your own forearms as the knitting needles to create a scarf in under 30 minutes. Video
6. Faux Neon Sign:
Use electroluminescent (EL) wire and a sturdy backing (like pegboard or acrylic) to bend and zip-tie a glowing “neon” word or shape.
Beauty & Self-Care
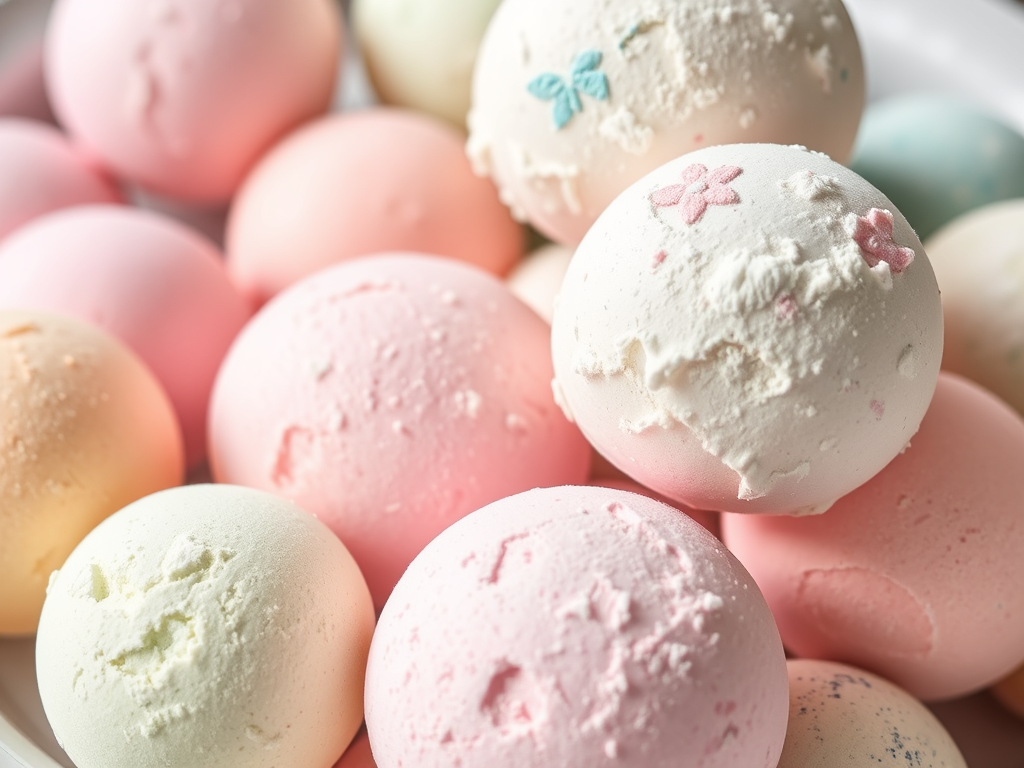
7. Galaxy Bath Bombs:
Mix citric acid, baking soda, and Epsom salts. Use black, purple, and blue micas with biodegradable glitter to create a “space” effect when dropped in water.
8. Pressed Flower Phone Case:
Arrange dried, pressed flowers on a plain clear phone case and seal them permanently with a thin layer of clear casting resin.
9. Custom Soy Candles:
Melt soy wax flakes, add essential oils, and secure a wick in a vintage teacup or glass jar. Experiment with “layering” colors.
10. Embroidered Sneakers:
Use a sharp needle and embroidery floss to stitch small designs (like flowers or stars) directly onto the canvas of old high-top sneakers. Video
11. Lip Balm Lab:
Melt beeswax, coconut oil, and shea butter. Add flavored oils and pour into small tins to create a custom batch of lip gloss.
Upcycling & Fashion
12. Bleach Pen Art:
Use a bleach gel pen to “draw” designs on dark-colored T-shirts or denim jackets. Rinse thoroughly once the color lifts.
13. Bottle Cap Mosaics:
Collect hundreds of plastic bottle caps and screw them onto a piece of plywood to create a large-scale pixelated mural.
14. Leather (or Vegan Leather) Journal:
Cut a cover from leather/vinyl, punch holes, and use “long-stitch” binding to sew stacks of paper (signatures) directly into the spine.
15. Denim Patchwork:
Use old jeans to create “distressed” patches. Teach the “sashiko” Japanese embroidery method to turn a tear into a decorative feature.
16. Vinyl Record Bowls:
(Adult supervision) Soften an old, scratched vinyl record in the oven at a low temp for 2 minutes, then mold it over a bowl to create a wavy, retro container.
Advanced Paper & Ink
17. Linocut Block Printing:
Carve a design into a linoleum block using a gouge tool. Ink the block with a roller and print custom stationery or T-shirts. Video
18. Japanese Bookbinding:
Use the “four-hole” stab binding method to join loose sheets of paper into a professional-looking sketchbook. Video
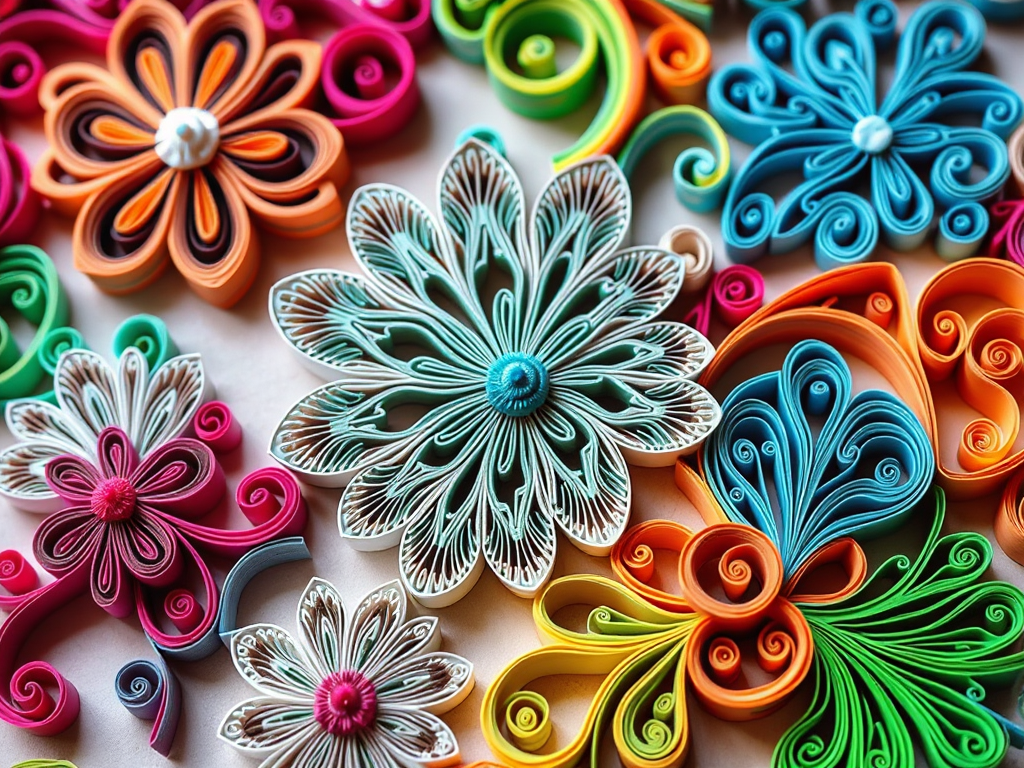
19. Quilling (Paper Filigree):
Roll thin strips of paper into tight coils and pinch them into shapes to create intricate, 3D filigree art.
20. Hydro-Dipping:
Use spray paint floated on water in a large bin. Dip items like phone cases or white shoes through the paint to create a marbleized effect. Video
Tech & Engineering Crafts
21. Conductive Thread Plushie:
Sew a small felt creature. Use conductive thread to connect a battery pack to an LED “eye” so the toy glows when squeezed.
22. Hydraulic Cardboard Arm:
Use cardboard, plastic syringes, and aquarium tubing filled with water to create a moveable mechanical “claw” arm. Video
23. Smartphone Projector:
Use a shoebox, a magnifying glass lens, and black paint. Position the phone inside to project videos onto a white wall.
24. Book Nook Diorama:
Build a tiny “room” or “alleyway” inside a box that fits between books on a shelf, complete with tiny furniture and LED lighting.
25. Infinite Photo Cube:
Join 8 small wooden cubes with tape in a specific pattern so the “cube” can be unfolded infinitely to reveal different photos. Video
Useful Home Items
26. Concrete Planters:
Mix quick-dry concrete and pour it into “molds” made from recycled food containers (like a yogurt cup inside a juice carton).
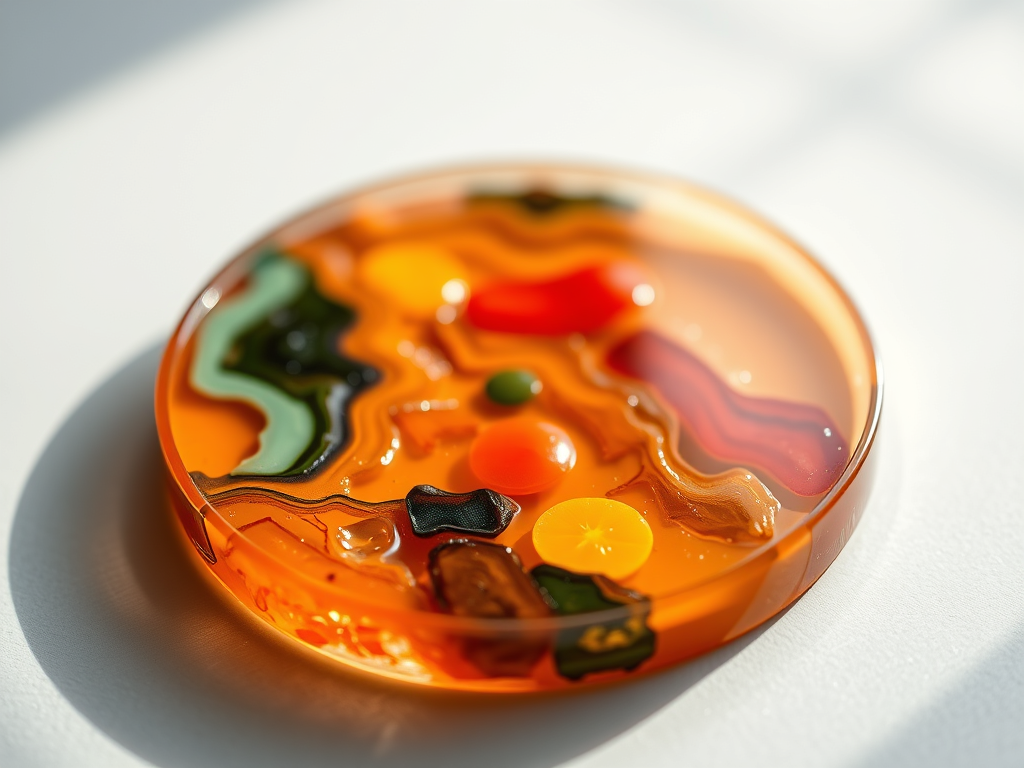
27. Resin Coasters:
Mix two-part epoxy resin and pour into silicone molds. Embed “mementos” like concert tickets, glitter, or dried ferns.
28. Beeswax Food Wraps:
Grate beeswax onto cotton fabric scraps and melt it in with an iron to create an eco-friendly alternative to plastic wrap.
29. Paracord Survival Bracelets:
Teach the “cobra stitch.” These bracelets can be unwound in an emergency to provide 8–10 feet of heavy-duty rope. Video
30. Magnetic Spice Rack:
Paint small jars, glue strong neodymium magnets to the lids, and create a vertical spice “garden” on the side of a fridge.
31. Geometric Canvas Art (Tape Resist):
Use painter’s tape to create complex geometric patterns on a large canvas. Paint the sections with a cohesive color palette (like “Sunset” or “Cool Tones”), then peel the tape to reveal crisp white lines.
32. Dried Flower Bar Cart Art:
Arrange dried “babies breath” or eucalyptus between two pieces of floating glass (double-glass frame) for a modern, botanical look.
33. Woven Wall Tapestry:
Build a simple “lap loom” using a picture frame and nails. Use various textures of yarn, roving, and even strips of denim to weave a boho-style hanging.
34. Cement & Copper Bookends:
Use a milk carton as a mold for concrete and embed a 90-degree copper pipe. The contrast of the industrial concrete and polished copper creates a high-end look.
35. Boho Mirror Tassels:
Create oversized yarn tassels and wooden bead garlands to drape over the corners of a full-length mirror.
Sustainable & High-End Fashion
36. Upcycled Thrift-Flip:
Take a “boring” thrifted oversized shirt and use a sewing machine or hem tape to turn it into a cropped top with a matching scrunchie.
37. Botanical Hammering (Hapa Zome):
Place fresh flowers and leaves between two pieces of cotton fabric. Hammer the surface to transfer the natural pigments into a permanent “watercolor” print on the fabric.
38. Resin Jewelry (Botanical):
Use open-back bezels and UV resin to preserve tiny pressed flowers or gold leaf into earrings and necklaces.
39. Hand-Painted Denim:
Use fabric markers or acrylics mixed with “textile medium” to paint a detailed mural or quote on the back of a denim jacket.
40. Custom Shoe Laces (Dip-Dye):
Use fabric dye to create an “ombre” effect on plain white cotton shoelaces for a subtle, custom sneaker upgrade.
“Maker” Tech & Gadgetry
41. DIY Bluetooth Speaker:
Use a kit or wire a small amplifier and speakers into a vintage suitcase or a hollowed-out book.
42. Light-Up Secret Message Board:
Use a shadow box, a sheet of acrylic, and “neon” chalk markers. Line the edge with an LED strip so the writing glows when the light is turned on.
43. Cardboard Arcade Cabinet:
Build a desktop-sized housing for a tablet or phone using heavy-duty cardboard, creating a retro “joystick” experience for mobile games.
44. Solar-Powered Phone Charger:
(Requires basic soldering) Use a small solar panel, a voltage regulator, and a USB port to create a portable camping charger.

45. Programmable LED “Cloud” Lamp:
Use polyester batting (stuffing), a string of LED lights, and a plastic bottle to create a glowing thundercloud that hangs from the ceiling.
Artisanal Stationery & Tools
46. Hand-Carved Wooden Spoon:
(Adult supervision) Use a “hook knife” and a blank of soft wood (like basswood) to slowly carve a functional kitchen spoon.
47. Custom Stamp Set (Wood & Foam):
Cut intricate shapes out of sticky-back foam and mount them on wooden blocks to create a personalized “brand” or stationery set.
48. Coptic Stitch Journal:
Learn the “exposed spine” sewing method to create a sketchbook that lays perfectly flat when opened. Video
49. Alcohol Ink Planters:
Drip alcohol inks onto ceramic white pots and use a straw to blow the ink around, creating a vibrant, marbled effect.
50. Handmade Watercolor Paints:
Grind natural earth pigments (or chalk) and mix with gum arabic and honey to create a personal palette of paints.
Self-Care & “Small Batch” Goods
51. Whipped Body Butter:
Melt and whip cocoa butter, shea butter, and jojoba oil into a “frosting” consistency. Add high-end scents like Sandalwood or Bergamot.
52. Cold Process Soap (Beginner):
Use a “melt and pour” base but add advanced exfoliants like ground coffee, dried lavender, or Himalayan sea salt for a professional feel. Video
53. Organic Room Sprays:
Mix witch hazel, distilled water, and essential oils in amber glass spray bottles with custom-designed labels.
54. Aura Quartz “Crystals”:
Use Borax or Alum to grow giant crystals on pipe cleaners, then “dye” them with iridescent ink to mimic expensive aura quartz.
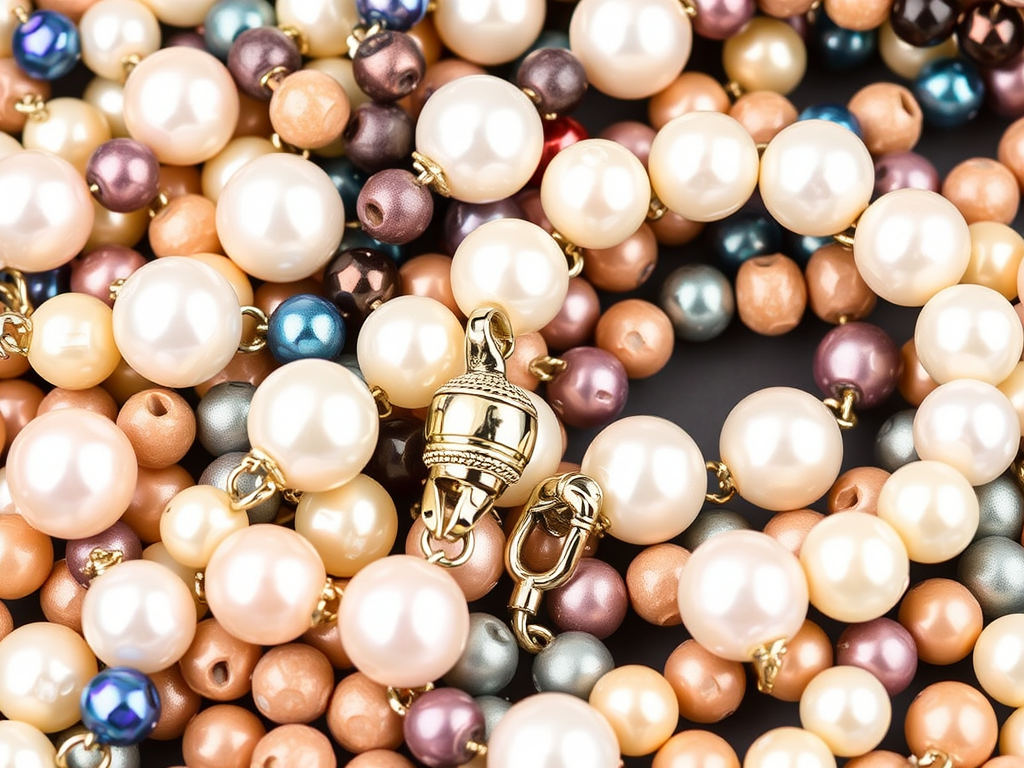
55. Beaded Eyeglass/Mask Chains:
Use high-quality seed beads, freshwater pearls, and “lobster” claws to create a functional and trendy chain.
Advanced “Useful” Items
56. Leather Key Fob (Stamped):
Use a leather stamping kit to indent initials or patterns into a vegetable-tanned leather strip, then finish with a metal rivet.
57. Kitchen Herb Garden (Vertical):
Use a wooden pallet or a series of hanging tin cans to create a space-saving herb garden for the kitchen.
58. Rope Basket (Sewing Machine):
Coil cotton clothesline rope and use a “zigzag” stitch on a sewing machine to join the coils into a sturdy, modern basket. Video
59. Custom Mousepad:
Use a piece of cork or heavy felt and use “stencil-brushing” to add a professional, minimalist design.
60. Concrete Fire Pit (Tabletop):
Use two nesting bowls as a mold to create a small concrete bowl. Fill with decorative rocks and a small can of gel fuel for an indoor/outdoor fire feature.
All Ages 5-50
These are designed to be high-impact, satisfying for both a 5-year-old and a 50-year-old, and use versatile materials that scale in complexity.
Artistic Techniques
1. Shaving Cream Marbling:
Spread shaving cream on a tray, drip food coloring on top, and swirl with a toothpick. Press paper onto the foam, scrape off the excess cream, and the marbled pattern stays on the paper.
2. Alcohol Ink Coasters:
Drip alcohol-based markers or inks onto ceramic tiles. Drop rubbing alcohol on top to watch the colors bloom and blend into abstract art.
3. Black Glue Watercolors:
Mix black acrylic paint with school glue. Trace a drawing with the black glue; once dry, paint inside the “ridges” with watercolors for a stained-glass effect.
4. Negative Space Canvas:
Place stickers (like letters or stars) on a canvas. Paint the entire canvas, then peel the stickers off to reveal the clean white shapes underneath.
5. Crayon Melting Art:
Glue a row of crayons to the top of a canvas. Use a hair dryer to melt them so the wax drips down in a rainbow “rainfall” pattern.
6. Bleeding Tissue Art:
Place “bleeding” tissue paper squares on canvas and spray with water. When the paper dries and falls off, the ink remains in a beautiful watercolor wash.
Nature-Inspired Creations
7. Bird Seed Ornaments:
Mix birdseed with gelatin and water. Press into cookie cutters with a straw (for the hole) and let dry. Hang them in trees for local birds.
8. Mud Bricks:
Mix dirt, water, and straw. Press into ice cube trays or small boxes to dry in the sun. Use the “bricks” to build miniature walls or houses.
9. Air-Dry Clay Leaf Bowls:
Press a large, textured leaf into a slab of air-dry clay. Cut around the edges, curve the clay into a bowl shape, and let dry.
10. Nature Weaving:
Tie four sticks into a square frame. Wrap twine vertically to create a loom. Go on a walk and weave long grass, flowers, and feathers through the twine.
11. Seed Bombs:
Mix clay powder, soil, and wildflower seeds with a little water. Roll into balls and let dry. Toss them into garden patches to watch flowers grow.
12. Painted Walking Sticks:
Find a sturdy fallen branch. Sand it smooth and paint geometric “tribal” patterns or rings around it for your next hike.
Fun & Games
13. DIY Kinetic Sand:
Mix 5 parts fine sand, 3 parts cornstarch, and 1 part dish soap/water. It feels like “wet” sand that never dries out and is fun to mold.
14. Custom Puzzles:
Draw a high-detail picture on thick cardboard. Flip it over, draw “puzzle piece” shapes on the back, and cut them out with sharp scissors.
15. Spin-Art with a Salad Spinner:
Place a paper circle inside a salad spinner. Drip paint on it and spin rapidly to create “splatter” starburst designs.
16. Foam Paint (3D Paint):
Mix equal parts shaving cream and school glue with food coloring. The paint dries “puffy” and maintains its 3D shape on the page.
17. Pool Noodle Horse:
Bend the top of a pool noodle and tie it with twine to make a “head.” Decorate with felt ears and googly eyes for a classic hobby horse.
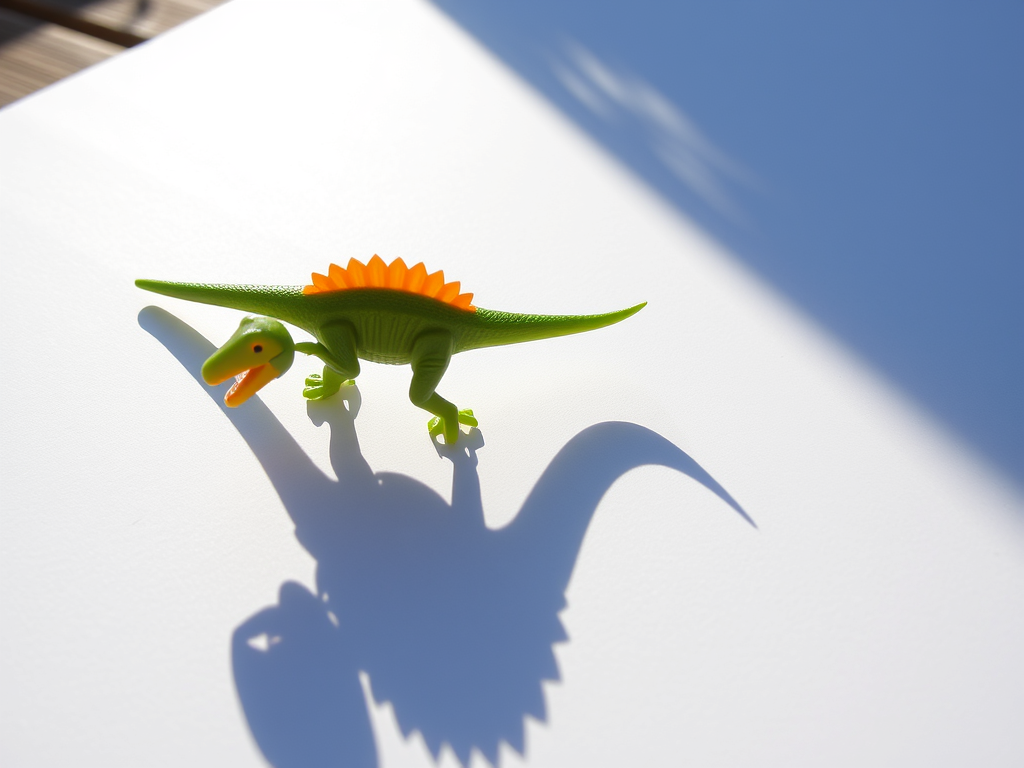
18. Shadow Drawing:
On a sunny day, place a toy (like a plastic dinosaur) on paper. Trace the shadow it casts. Move the paper every hour to see how the shadow “stretches.”
Home & Useful Items
19. Painted Umbrella:
Use fabric paints or permanent markers to draw clouds, raindrops, or flowers on a plain white or clear umbrella.
20. Upcycled Tin Can Organizers:
Wrap empty, clean tin cans in twine, fabric, or “contact paper” to create a matching set of desk organizers.
21. Magazine Collage Placemats:
Cut bright colors and patterns from old magazines. Glue them to cardstock and have them laminated to make durable, easy-clean placemats.
22. Personalized Doormat:
Use a plain coir mat and a stencil. Use outdoor acrylic paint to “dab” your family name or a “Welcome” message onto the bristles.
23. Flower Pot “People”:
Paint a large terracotta pot as a “body” and a smaller one as a “head.” Glue them together and plant “hair” (flowers or succulents) in the top pot.
24. Soap Carving:
Give kids a bar of soft soap and a popsicle stick. Have them “carve” a turtle or a fish out of the bar—it’s a safe introduction to sculpture.
Advanced Paper Crafts
25. Pop-Up Cards:
Use simple “V-fold” techniques to make hearts or flowers pop out when a greeting card is opened.
26. Paper Beads:
Cut long, skinny triangles from colorful magazine pages. Roll them around a toothpick (starting from the wide end) and glue the tip to make a bead.
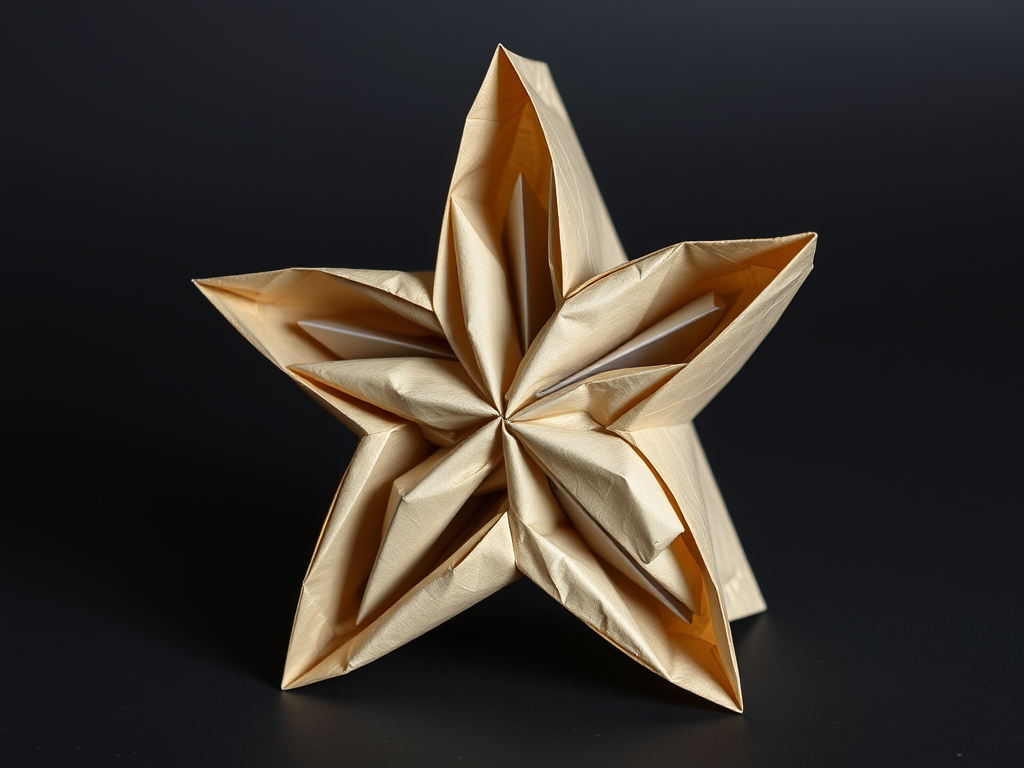
27. Paper Bag Stars:
Glue 7–8 paper lunch bags together in a stack. Cut “V” shapes into the sides and top. Open it up and glue the ends to create a massive 3D star.
28. Paper Plate Spirographs:
Cut notches around a paper plate. Use a long piece of colorful yarn to “sew” geometric patterns across the plate.
29. Giant Paper Flowers:
Use layers of tissue paper or cardstock to build flowers the size of a dinner plate to decorate a bedroom wall.
30. Handwritten Map Art:
Draw a “treasure map” of your own neighborhood or backyard. Use a wet tea bag to stain the paper brown and crinkle it up to make it look 100 years old.
“Magic” & Chemical Art
31. Crayon Batik:
Draw heavily with crayons on white fabric. Crumple the fabric, then dip it in fabric dye. The dye will seep into the “cracks” where the wax broke, creating a beautiful spider-web effect.
32. Solar Paper Prints:
Place interesting objects (keys, lace, leaves) on light-sensitive “Sun Art” paper. Leave it in the sun, rinse with water, and watch a permanent blue-and-white masterpiece appear.
33. Oil & Water Droplet Art:
Drip food coloring into a small cup of oil, then pour the oil into a tray of water. The “beads” of color will swirl and float, allowing you to lay a piece of paper on top to “capture” the marbleized bubbles.
34. Invisible Lemon Ink:
Write a secret message with lemon juice. To reveal it, have an adult carefully heat the paper over a lightbulb or iron it—the juice browns faster than the paper!
35. Salt & Watercolor Galaxies:
Paint a dark blue and purple watercolor wash. While wet, sprinkle coarse sea salt over it. The salt pulls the pigment, creating “stars” and “nebula” effects.
Nature & The Great Outdoors
36. Ice Sculptures:
Freeze water in various containers (balloons, bowls, cups) with food coloring. Take them outside and use warm water and salt to “weld” the ice shapes together into a glowing garden sculpture.
37. Stick-and-Stone Chess:
Find a flat, square stone and paint a grid on it. Use 32 small pebbles as pieces, painting half one color and half another.
38. Hanging Herb Drying Rack:
Tie two sturdy sticks into a “cross.” Hang it from the ceiling and use twine to dangle bunches of fresh herbs (lavender, rosemary) to dry.
39. Bark Castings:
Use a large lump of playdough or clay to take an “impression” of a tree’s bark. Pour plaster of paris into the mold to create a realistic 3D replica of the tree’s skin.
40. Leaf Skeletons:
Boil sturdy leaves in a mixture of baking soda and water, then gently brush away the “green” parts with a toothbrush to reveal the delicate, lace-like veins.
Creative Toys & Mechanical Fun
41. Paper Loop Airplanes:
Instead of traditional wings, tape two paper loops (one large, one small) to a straw. It looks like it won’t fly, but it glides further than most paper planes!
42. The “Infinite” Photo Folder:
Tape four small cardboard squares together in a specific “hinge” pattern to create a toy that can be folded over and over, revealing four different images.
43. Clothespin “Word” Clips:
Write words or names on the side of a wooden clothespin. Clip them to a string to create a “laundry line” of messages or names for a bedroom wall.
44. Balloon-Powered Boat:
Use a recycled juice carton. Tape a balloon to a straw poked through the back. Blow up the balloon and watch the “jet” of air push the boat across the tub.
45. Spinning Zoetrope:
Use a cardboard cylinder with slits cut in the side. Tape a “frame-by-frame” drawing inside. Spin it and look through the slits to see your drawing “animate.”
Home Decor & Giftables
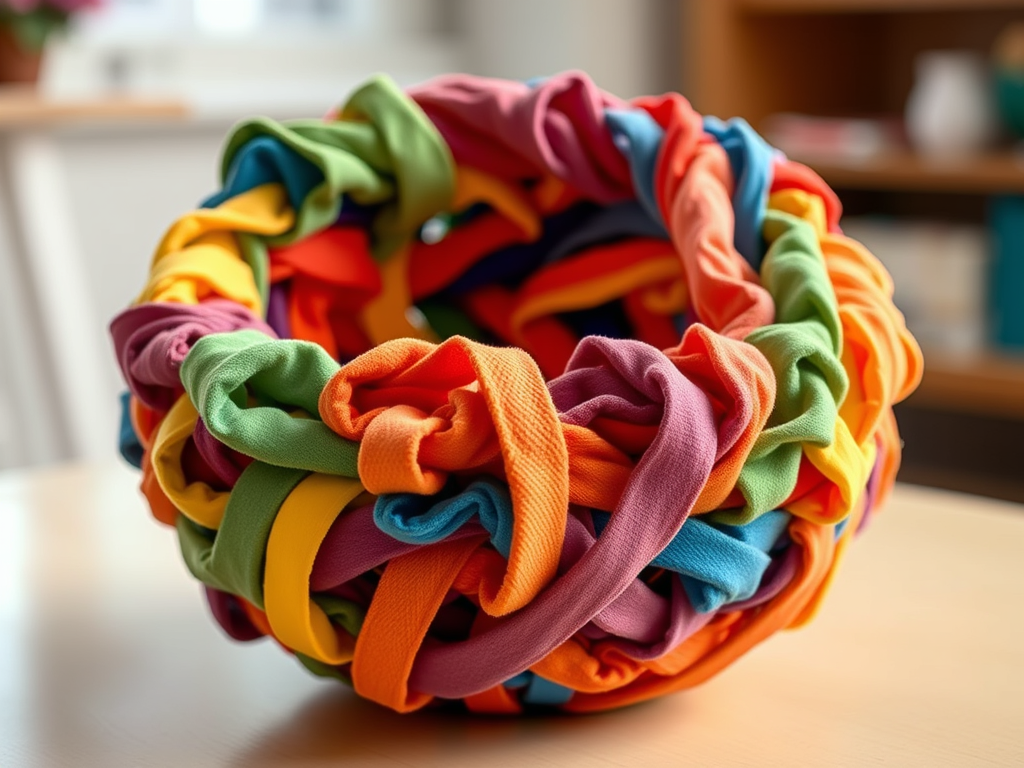
46. T-Shirt Yarn Baskets:
Cut old cotton T-shirts into long strips. Coil and “sew” the strips together (or glue them) to create a soft, colorful bowl for keys or jewelry.
47. Pressed Flower Candles:
Use a warm spoon to press dried flowers against the side of a plain pillar candle. The heat melts a tiny bit of wax, “locking” the flowers in place.
48. Scrapbook Paper Fans:
Use high-quality patterned paper. Fold it accordion-style and secure one end with an eyelet or ribbon for a functional, elegant hand fan.
49. Painted Rock Mandalas:
Use a “dotting tool” (or the end of a toothpick) to create perfectly circular, symmetrical patterns on a smooth river stone.
50. Jar Lid Magnets:
Glue a pretty piece of fabric or a photo inside an old jar lid. Add a magnet to the back for a “vintage-style” fridge decoration.
Advanced Paper & Texture
51. Paper Poinsettias:
Layer red and green cardstock “leaves” in a star pattern. Use a gold bead for the center. These make beautiful, permanent holiday decorations.
52. Corrugated Cardboard “Buildings”:
Peel the top layer off cardboard to reveal the “ridges.” Use these to build 3D houses or skyscrapers with realistic “siding.”
53. DIY Scratch-Art Boards:
Cover a paper entirely with bright crayon colors. Paint over the colors with a mix of black acrylic paint and dish soap. Once dry, use a toothpick to “scratch” glowing designs.
54. Coffee Filter Peonies:
Dip the edges of coffee filters in pink dye. Stack 10 filters and “scrunch” them together in the center to make a massive, fluffy flower.
55. Woven Ribbon Bookmarks:
Use two or three colors of satin ribbon. Weave them together in a “chevron” pattern and seal the ends with a lighter (adult help) to prevent fraying.
Skill-Building & Exploration
56. Blind Contour Portraits:
Two people sit across from each other. Draw the other person’s face without ever looking at your paper or lifting your pen. The result is always hilarious and artistic!
57. Texture Scavenger Hunt Book:
Create a 4-page “book” out of cardboard. Go around the house and glue on one “Soft” thing, one “Rough” thing, one “Sticky” thing, and one “Smooth” thing.
58. Bottle Cap “Stamps”:
Glue shapes cut from craft foam onto bottle caps. You now have a set of “easy-grip” stamps for decorating wrapping paper.
59. Yarn-Wrapped Twig Stars:
Tie 5 small twigs into a star shape. Wrap the frame in colorful yarn or twine. These look beautiful hanging in windows.
60. Shadow Puppet Theater:
Cut the bottom out of a cereal box and tape tissue paper over the hole. Use a flashlight behind the box to “perform” with paper cut-outs on sticks.
